Your cart is currently empty!
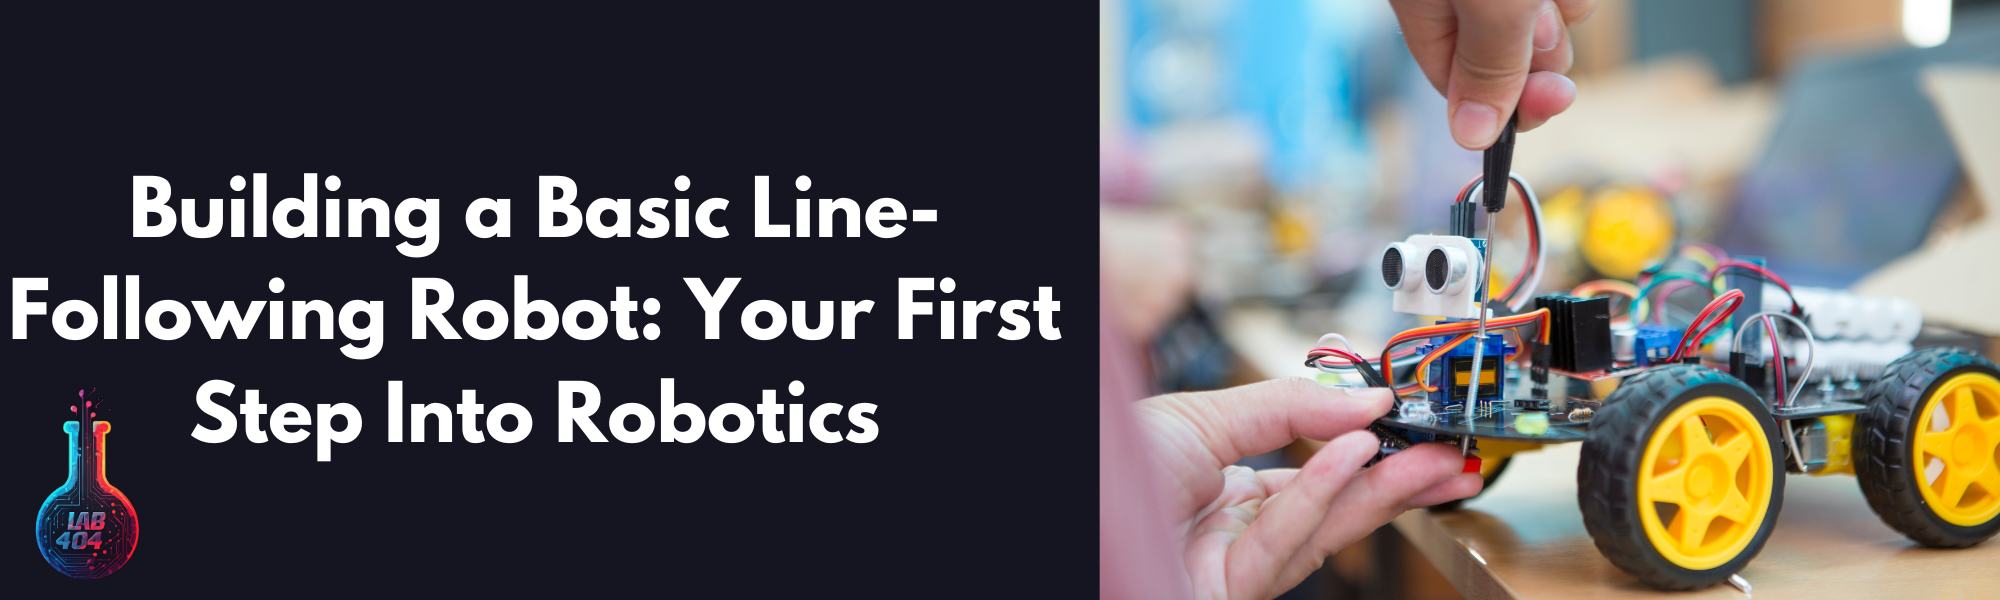
If you’ve ever dreamed of building a robot, a line-following bot is the perfect starting point. It’s simple, fun, and teaches you how to combine sensors, motors, and logic into a working machine.
By the end of this guide, you’ll have a robot that can follow a path like a champ—and you’ll understand the building blocks for more complex projects.
What’s a Line-Following Robot?
A line-following robot detects and follows a line (usually black on a white surface) using sensors. It adjusts its motor speeds based on the line’s position, staying on track like a pro.
What You’ll Need:
- Microcontroller: Arduino Uno (or similar).
- Chassis Kit: Includes wheels, motors, and a base.
- IR Sensors: Two or more.
- Motor Driver: L298N or similar.
- Power Supply: A battery pack (7.4V or higher).
- Jumper Wires: For connections.
- Black Electrical Tape: To create the line.
- Breadboard: Optional, for prototyping connections.
P.S. You can find all these items here: Shop – Lab404 | Robotics & Electronics Hub
Step 1: Build the Robot Chassis
Start by assembling the chassis kit. Follow the instructions to attach:
- Wheels to the motors.
- Motors to the baseplate.
- Caster wheel (optional, but it helps stability).
Pro Tip: Double-check that the motors are secure. Loose motors = wobbly robot.
Step 2: Connect the Components
Time to wire up your bot. Here’s the breakdown:
Motor Driver:
- Connect the two motors to the L298N outputs.
- Connect the input pins (IN1, IN2, IN3, IN4) to your Arduino.
IR Sensors:
- Mount two IR sensors on the front of the chassis.
- Connect their output pins to the Arduino’s digital pins (e.g., D2 and D3).
- Connect the power and ground pins to the Arduino’s 5V and GND.
Power Supply:
- Hook your battery pack to the motor driver’s power inputs.
- Use the motor driver’s 5V output to power the Arduino (if supported).
Final Check:
Make sure your wiring matches the motor driver and IR sensor pinout diagrams.
Step 3: Write the Code
Load this code into the Arduino IDE. It reads the IR sensors and controls the motors to follow the line.
cCopy code#define LEFT_SENSOR 2
#define RIGHT_SENSOR 3
#define LEFT_MOTOR1 4
#define LEFT_MOTOR2 5
#define RIGHT_MOTOR1 6
#define RIGHT_MOTOR2 7

void setup() {
  pinMode(LEFT_SENSOR, INPUT);
  pinMode(RIGHT_SENSOR, INPUT);
  pinMode(LEFT_MOTOR1, OUTPUT);
  pinMode(LEFT_MOTOR2, OUTPUT);
  pinMode(RIGHT_MOTOR1, OUTPUT);
  pinMode(RIGHT_MOTOR2, OUTPUT);
}

void loop() {
  int left = digitalRead(LEFT_SENSOR);
  int right = digitalRead(RIGHT_SENSOR);

  if (left == LOW && right == LOW) {
    // Move forward
    forward();
  } else if (left == LOW && right == HIGH) {
    // Turn left
    turnLeft();
  } else if (left == HIGH && right == LOW) {
    // Turn right
    turnRight();
  } else {
    // Stop
    stopMotors();
  }
}

void forward() {
  digitalWrite(LEFT_MOTOR1, HIGH);
  digitalWrite(LEFT_MOTOR2, LOW);
  digitalWrite(RIGHT_MOTOR1, HIGH);
  digitalWrite(RIGHT_MOTOR2, LOW);
}

void turnLeft() {
  digitalWrite(LEFT_MOTOR1, LOW);
  digitalWrite(LEFT_MOTOR2, LOW);
  digitalWrite(RIGHT_MOTOR1, HIGH);
  digitalWrite(RIGHT_MOTOR2, LOW);
}

void turnRight() {
  digitalWrite(LEFT_MOTOR1, HIGH);
  digitalWrite(LEFT_MOTOR2, LOW);
  digitalWrite(RIGHT_MOTOR1, LOW);
  digitalWrite(RIGHT_MOTOR2, LOW);
}

void stopMotors() {
  digitalWrite(LEFT_MOTOR1, LOW);
  digitalWrite(LEFT_MOTOR2, LOW);
  digitalWrite(RIGHT_MOTOR1, LOW);
  digitalWrite(RIGHT_MOTOR2, LOW);
}
Step 4: Create Your Track
Use black electrical tape on a white surface to create a path. Start with a simple oval or figure-eight. Avoid sharp turns—your robot isn’t a race car (yet).
Step 5: Test and Adjust
- Place your robot on the track.
- Power it up and watch it follow the line.
- If it drifts or stops, check the sensor placement and wiring.
Pro Tip: Adjust the sensor height to ensure they’re close enough to the surface to detect the line.
Troubleshooting Tips
- Robot doesn’t move? Check the motor driver connections.
- Robot spins in circles? Your sensor pins might be swapped.
- Robot can’t detect the line? Test the IR sensors individually.
What’s Next?
Congratulations—you’ve built your first robot! Now, take it up a notch. Add more sensors for advanced tracking, or program it to stop at intersections. In our next guide, we’ll explore “How to Automate Your Home Using Raspberry Pi.”
Need Parts?
We stock everything you need to build this robot and more—motors, sensors, drivers, and microcontrollers. Check out our store for quality components at competitive prices.
One response to “Building a Basic Line-Following Robot: Using Arduino”
-
[…] ready to build something cool. In our next article, we’ll guide you step-by-step through “Building a Basic Line-Following Robot: Your First Step Into Robotics – Lab404 | Robotics &…” Get your sensors and motors ready—it’s time to make your robot […]
Leave a Reply